
InBox CustomerUserImportExport
Version 7.0.1
Creation date 2024/05/29
Resources
Module for importing and exporting customer users directly from the system database.
Prerequisites
Framework
The following versions of the Znuny framework are supported:
- [7.0.x]
Modules
The following modules are required:
- InBox Core 7.0.1 or superior
- ImportExport 7.0.1 or superior
- ITSMConfigurationManagement 7.0.1 or superior
- ITSMCore 7.0.1 or superior
- GeneralCatalog 7.0.1 or superior
Operational system
The following operating systems are required:
- [None]
Third Party Software
The following third party software is required:
- [None]
Installation
bin/otrs.Console.pl Admin::Package::Install /path/to/InBox\ CustomerUserImportExport-7.0.1.opm
Configuration
Not the configuration for this module
Use
Creation of the template for import/export
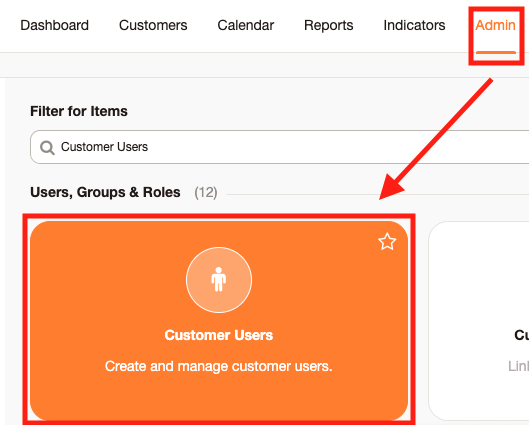
To view the new module, navigate to the “Admin -> Import/Export” menu:

On the next screen, click on the “Add template” button to create a template for importing and exporting a certain type of object (in the case of this module, the object will be the CustomerUser).

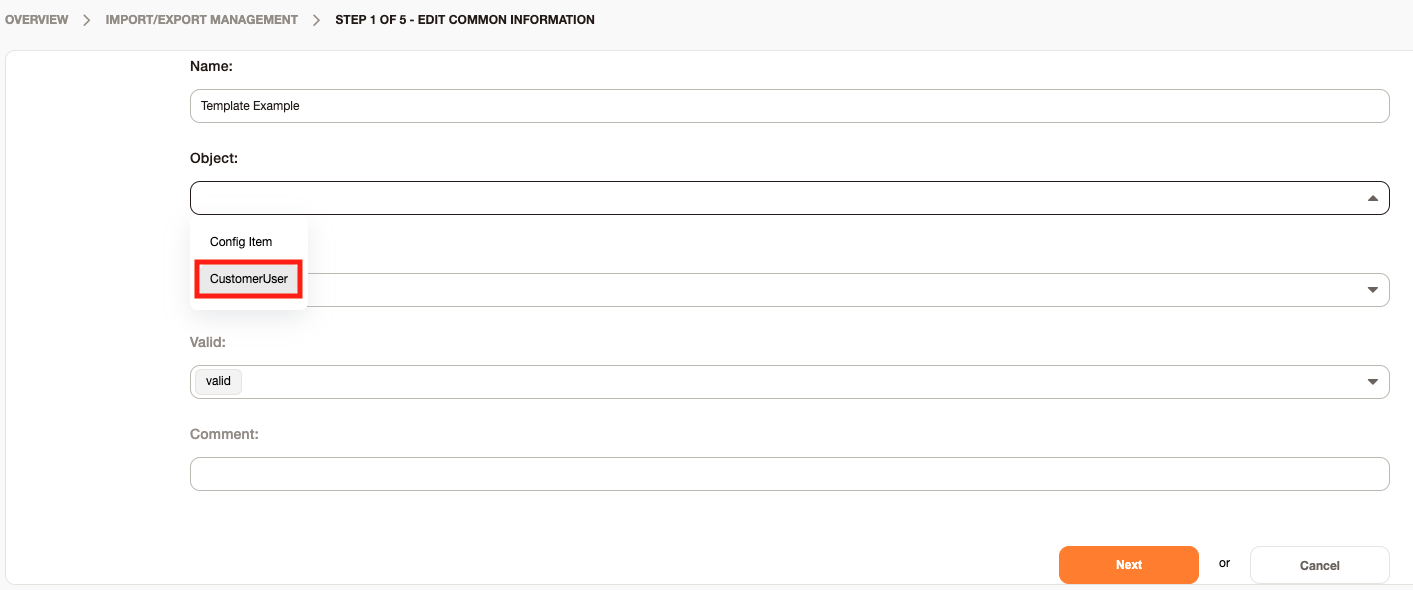
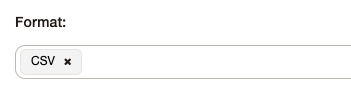
In the first step, give your template a name, select the “CustomerUser” object and choose the CSV format, as shown below:
In the second step, configure as requested and move on to the next.
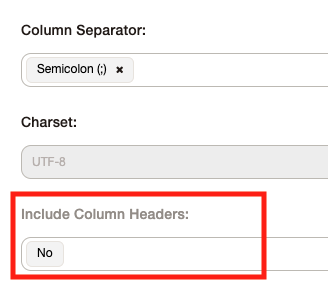
In the third step, you can choose what will be the separator of the columns in the file. You can also choose whether or not you want the columns to have a header.

In the fourth step, you can select the keys (characteristics) of the client users you want to import and export.

IMPORTANT NOTE: When selecting the keys, it is important to select those that are mandatory when creating the customer user. For export, this does not matter, but when importing, it is important to have the mandatory keys, as this may give an error when importing.
In the case of CustomerUser, these are the mandatory keys: UserFirstname, UserLastname, UserLogin, UserEmail, UserCustomerID, Validity.

Exporting
Once your template has been created, click on the icon below “Export”, and a CSV file will automatically be downloaded, just as you configured it in the template.

Example of how the export file looks once opened in the spreadsheet:

Importing
To import, click on the icon below “Import”, select the CSV file containing that template (with the keys previously selected in it) and click on “Start Import”:


To avoid errors, you can use the previously exported file, add the desired client users, save it as CSV and import it into this option.
To see if the import went well, navigate to the “Admin -> Customer Users” menu:
And check that the customer users have actually been added.
